Summary:
Very Simple Device Construction. Disassembled with a 000 Phillips precision screwdriver made by Craftsman.
Saran wrap is optional. To protect the screen.
Nothing else was needed for disassembly.
Basics:
- Remove Battery Cover.
- Remove Battery.
- Remove All 6 Visible Screws
Deeper:
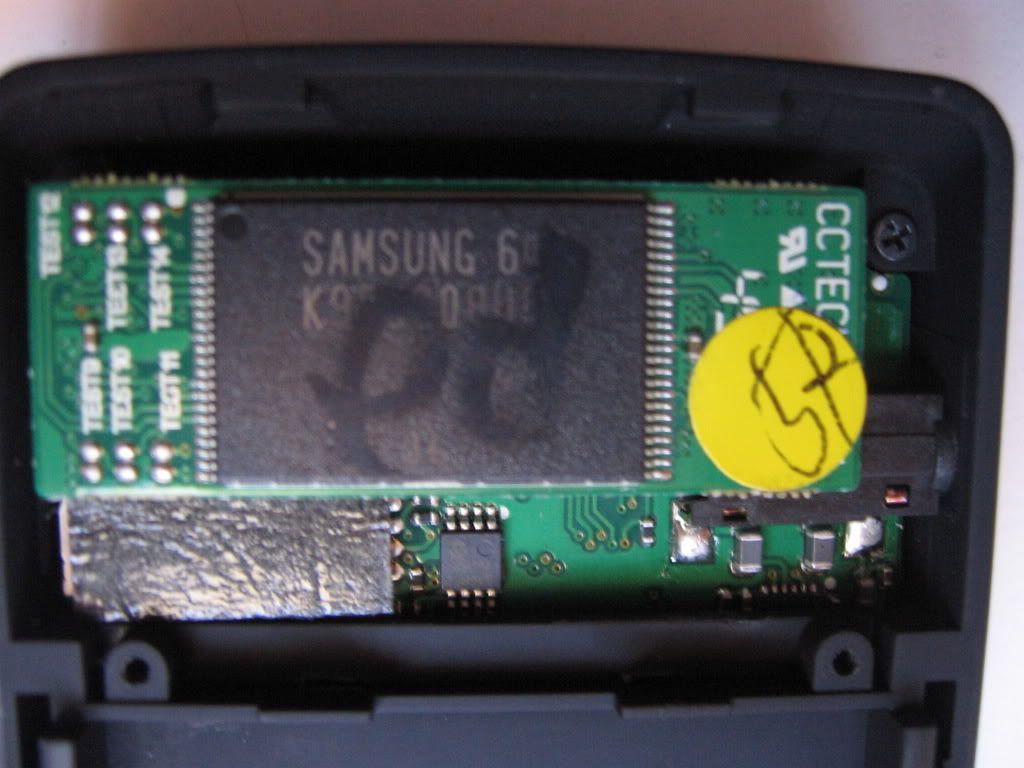
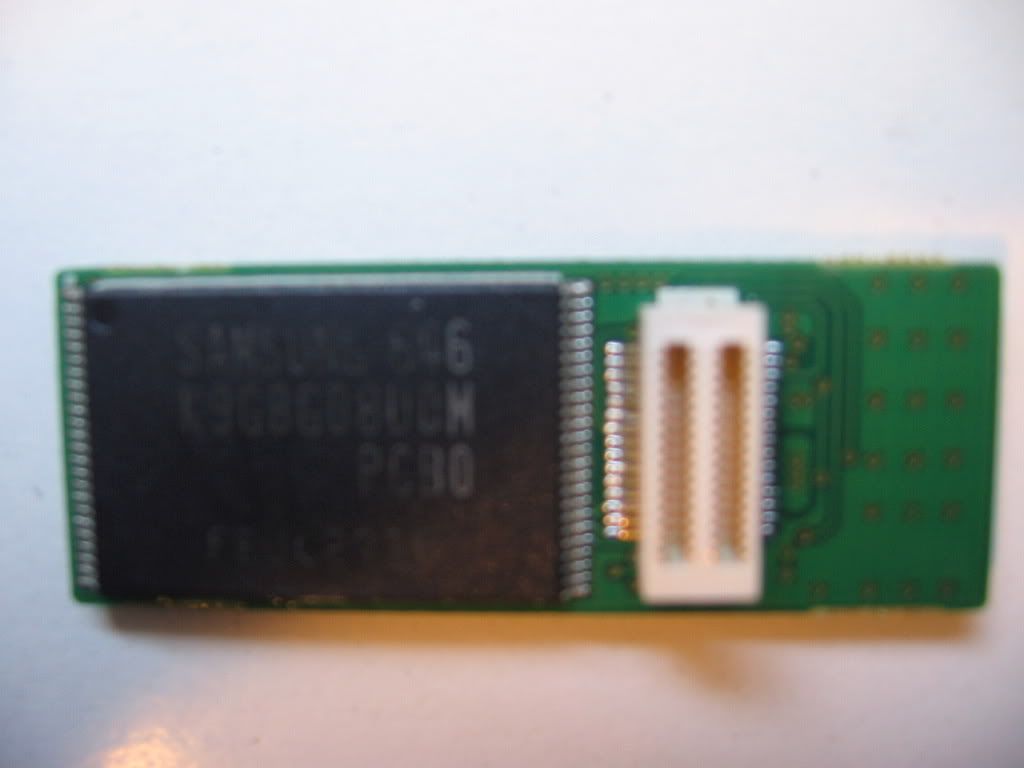
Popup side Panel from inside of the battery compartment lifting with a henge motion pulling towards the middle. Exposing the Flash Module, My Model had a 2 gig module This module had a samsung chip on both sides. As well as a header to connect |
|
Presumably a 4 gig module or higher could be placed here. |
|
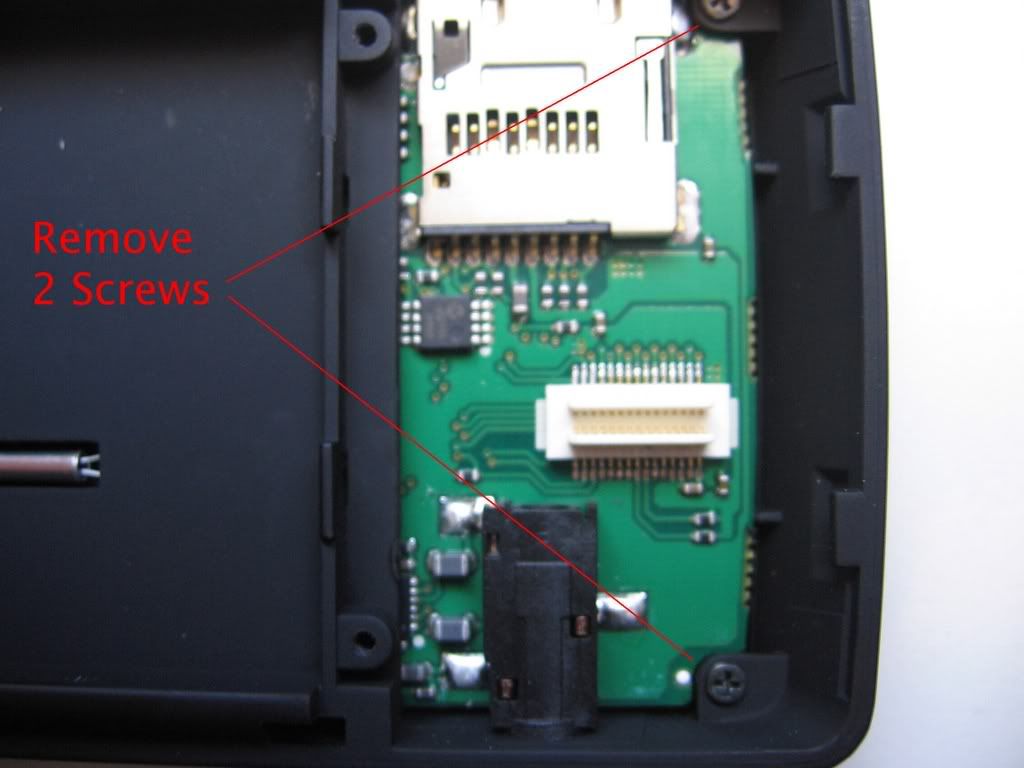
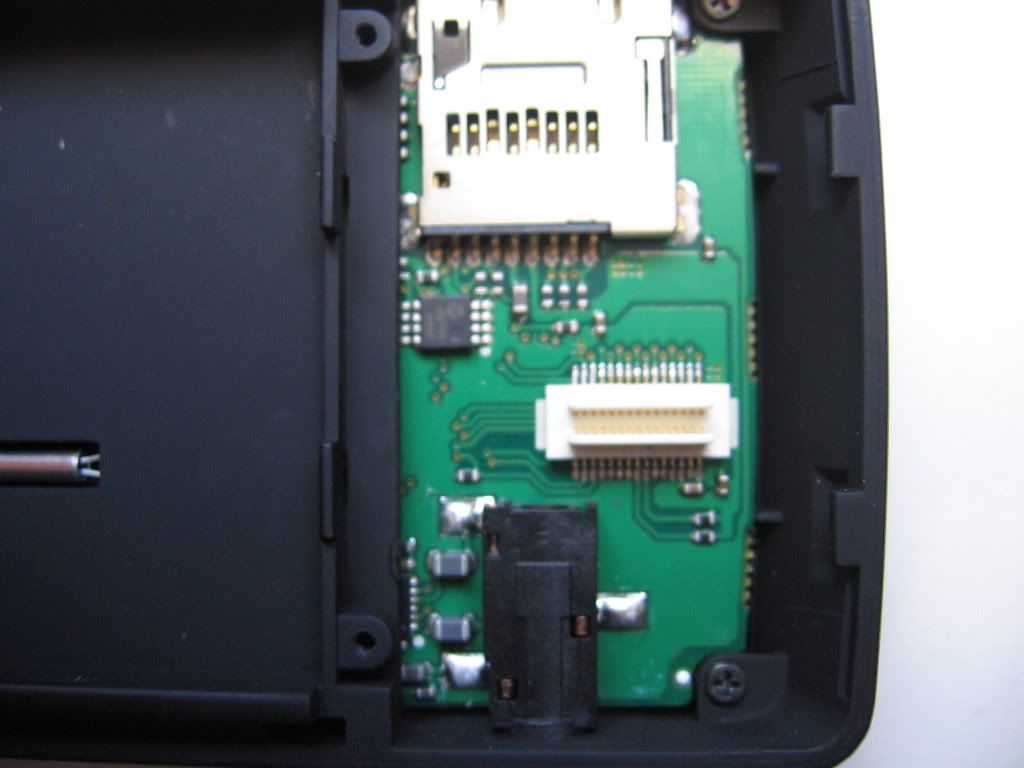
Under the flash Module are 2 more screws totaling 8.After removing them the rest of the components can be disasmbled.
| |
| Pressing Carfully on the Exposed board you can start the seperation of the front cover and back cover. But do not press to much. Then pop the cover off the rest of the way. |
After Removing the front Cover the front of the PCB is exposed as well as the raw LCD Screen.
| 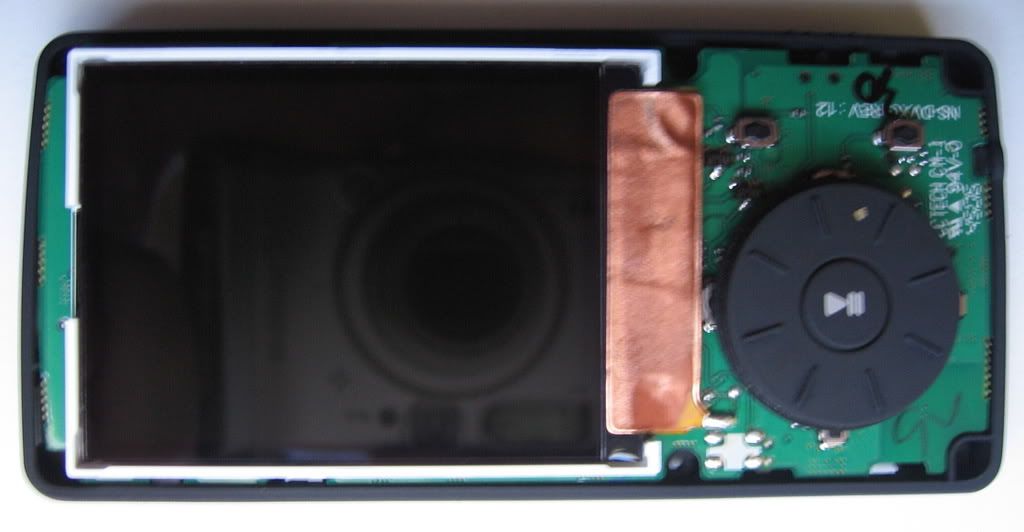 |
Allowing you to remove the PCB and get the other side of the board. Be Carefull of the screen. My Suggestion is to place some trimmed Plastic wrap to help protect it from scratches before removing it from the rest of the casing. While I found that it is reletively resistant. Better safe than sorry. |
To Remove the PCB from the Back Cover you will have to pop the Stereo Jacks out of their cutouts, along with the Mini Usb. Starting with the Mic/Headphone which is on the widest side. And then Wiggle the board out of the other two which are side by side. | 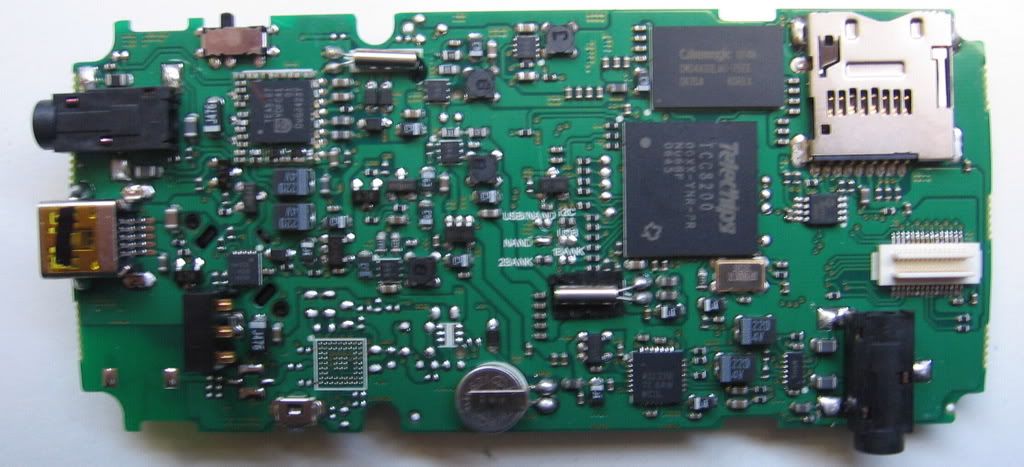 |